Hi all
From version 6.5.1 of PowerCLI Vmware has made a big change in the way we will install PowerCLI, up until now you downloaded ye old .msi packet and ran the installation the old clasic way.
No more! From now on you do it the Powershell Gallery way. what does that mean you ask? it means that you can install it as a module from inside Powershell. read on to find out how.
How to do it
First of all uninstall any old versions of PowerCLI you might have on your system. If you don’t know how… i might write a tutorial about that sometime….
Now when this is done we can start with the fun part. Lets install the new thing.
You have now the option of doing a online install or do a offline one, so lets see how it is done.
Online Install
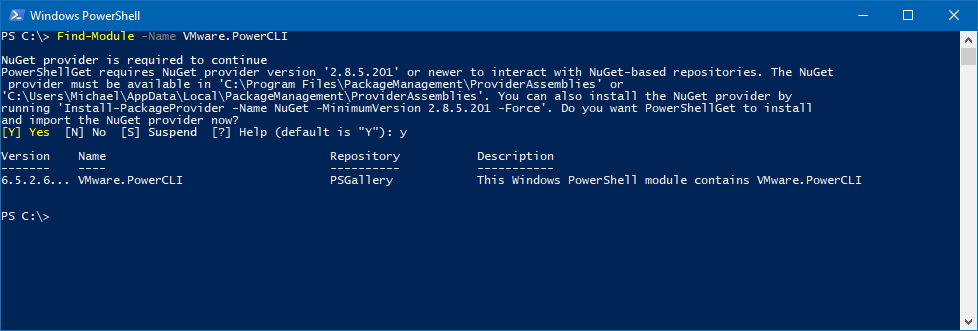
Find-Module -Name VMware.PowerCLI
The commands lists the modules in Powershell Gallery, in this case Vmware PowerCLI

If it is the first time you access the Powershell gallery you might have to install NuGet provider. its easily done just accept the update/Installation by pressing “Y” and let the installation run.
Install-Module -Name VMware.PowerCLI –Scope CurrentUser
Now we can start the installation of PowerCLIThe command initiates the installation of PowerCLI on our local system for our current user. and can be run without administrative rights. If you want to install for all users you must have administrative rights and change the -Scope to AllUsers
Install-Module -Name VMware.PowerCLI –Scope AllUsers

Now you are done with the installation of the brand new PowerCLI and can start using it.
Using PowerCLI
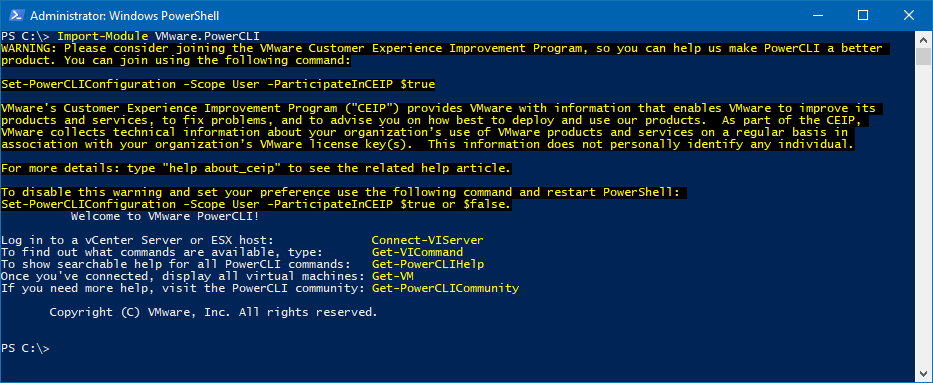
To start the new PowerCLI you open a Powershell window and load the module with the Import-module command like follows
Import-Module VMware.PowerCLI

Information courtesy of VMware Blog